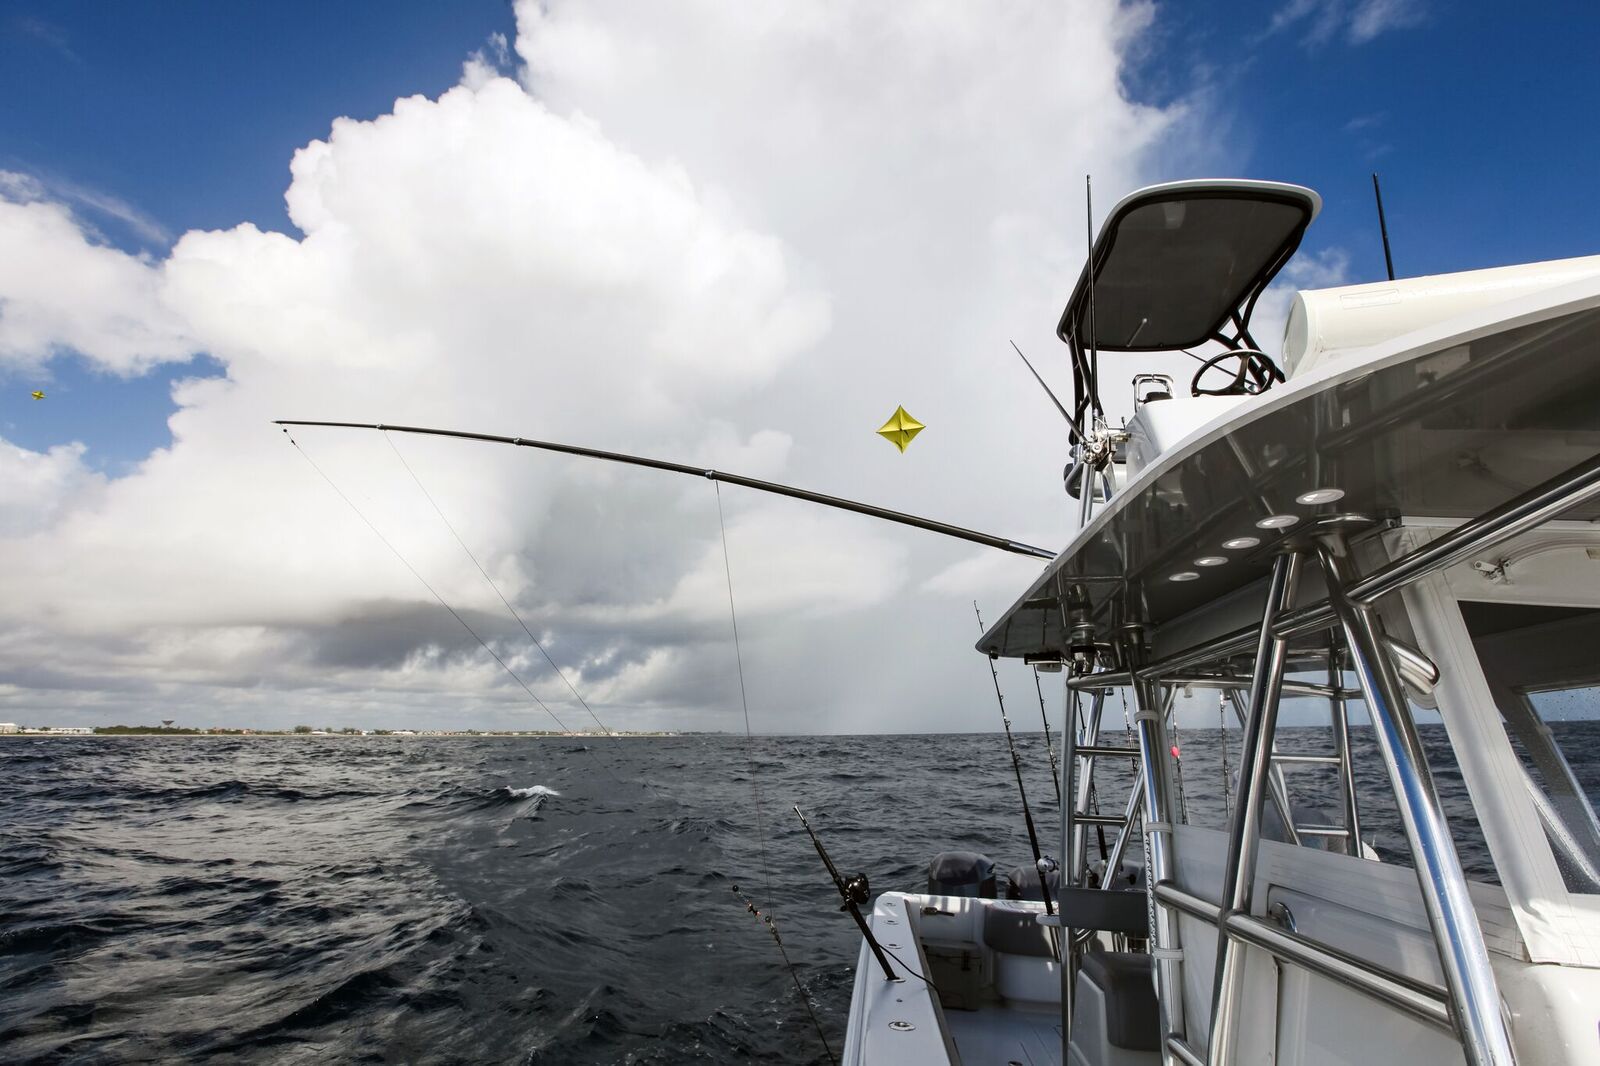
How to Rig Properly and be Ready for Battle on the High Seas
Setting up and rigging outriggers can be intimidating the first time. With the right gear, a little bit of know-how, and some practice, you’ll be able to set your own trolling spread and be ready to do battle on the high seas.
When rigging your outrigger poles, try to do everything that you can from the deck of the boat. Rigging from the deck of the boat will give you total control of your halyard line and will be much easier to manage.
Running Your Lines
Always run your longest and furthest line first, keeping it clear of other lines when retrieving clips. This is an excellent practice if you’re running multiples on one outrigger. Rigging the halyard line from the bottom of the outrigger to the top is the easiest way to begin rigging your outriggers.
Once you rig the halyard line through the tip of the outrigger, you can pull the line through your stop. Next, prepare your snap swivel and your release clip, making sure that when it opens, the trigger of the release clip folds down. Once the direction of the trigger is set, thread the outrigger line through the first snap swivel in the rigging using an arbor knot to secure it to the line.
Setting Your Pole in the Base
Now you’re ready to extend your outrigger pole and insert it into the base. To make things easy, be sure to give yourself plenty of slack with the end of the rigged line and secure it to an anchor point on your boat, that way it doesn’t go out with the end of your pole. Tigress Outriggers & Gear has multiple telescopic outrigger pole options that are lightweight and easy to operate, making them a snap to rig.
After extending your entire outrigger pole, insert it into your base. Now, set your base and outrigger poles out all the way to simulate a troll set up. Tigress Outriggers & Gear has a wide variety of top mounts to choose from. The New XD Top Mount uses revolutionary ergonomics to make controlling the mount manually effortless. Tigress is extremely proud to offer a first of its kind electronically operated top mount outrigger holder, the TigerShark I.
Securing the Line
Run your line through the front of your pulley block and then attach to another swivel on the opposite end of your release clip. Secure the outrigger line to the second snap swivel using another arbor not. Attach the pulley block bungee to the gunnel of your boat, making sure it has some tension on it and the end outrigger pole has some tension toward the water. When running multiple lines, be sure to use the same tension on each line for the block pulley to perform at its maximum potential. Make sure the line rolls smoothly through the pulley block, and you are ready to fish.
Tigress Outriggers & Gear is a one-stop supplier for all your outrigger and rigging needs. Tigress offers seven different comprehensive rigging kits to suit the needs of all anglers, from beginners to guides. The kits include everything you need to rig two outrigger poles.
If you’re thinking about trolling for the catch of a lifetime, check out our outrigger poles and mounts.
Quick note: If you use mono instead of braid, replace the arbor knots with crimper sleeves to secure the outrigger line to the snap swivels.


